Writing ISOs to USB
This guide covers the process of writing an ISO to one or more USB drives using AME Beta.
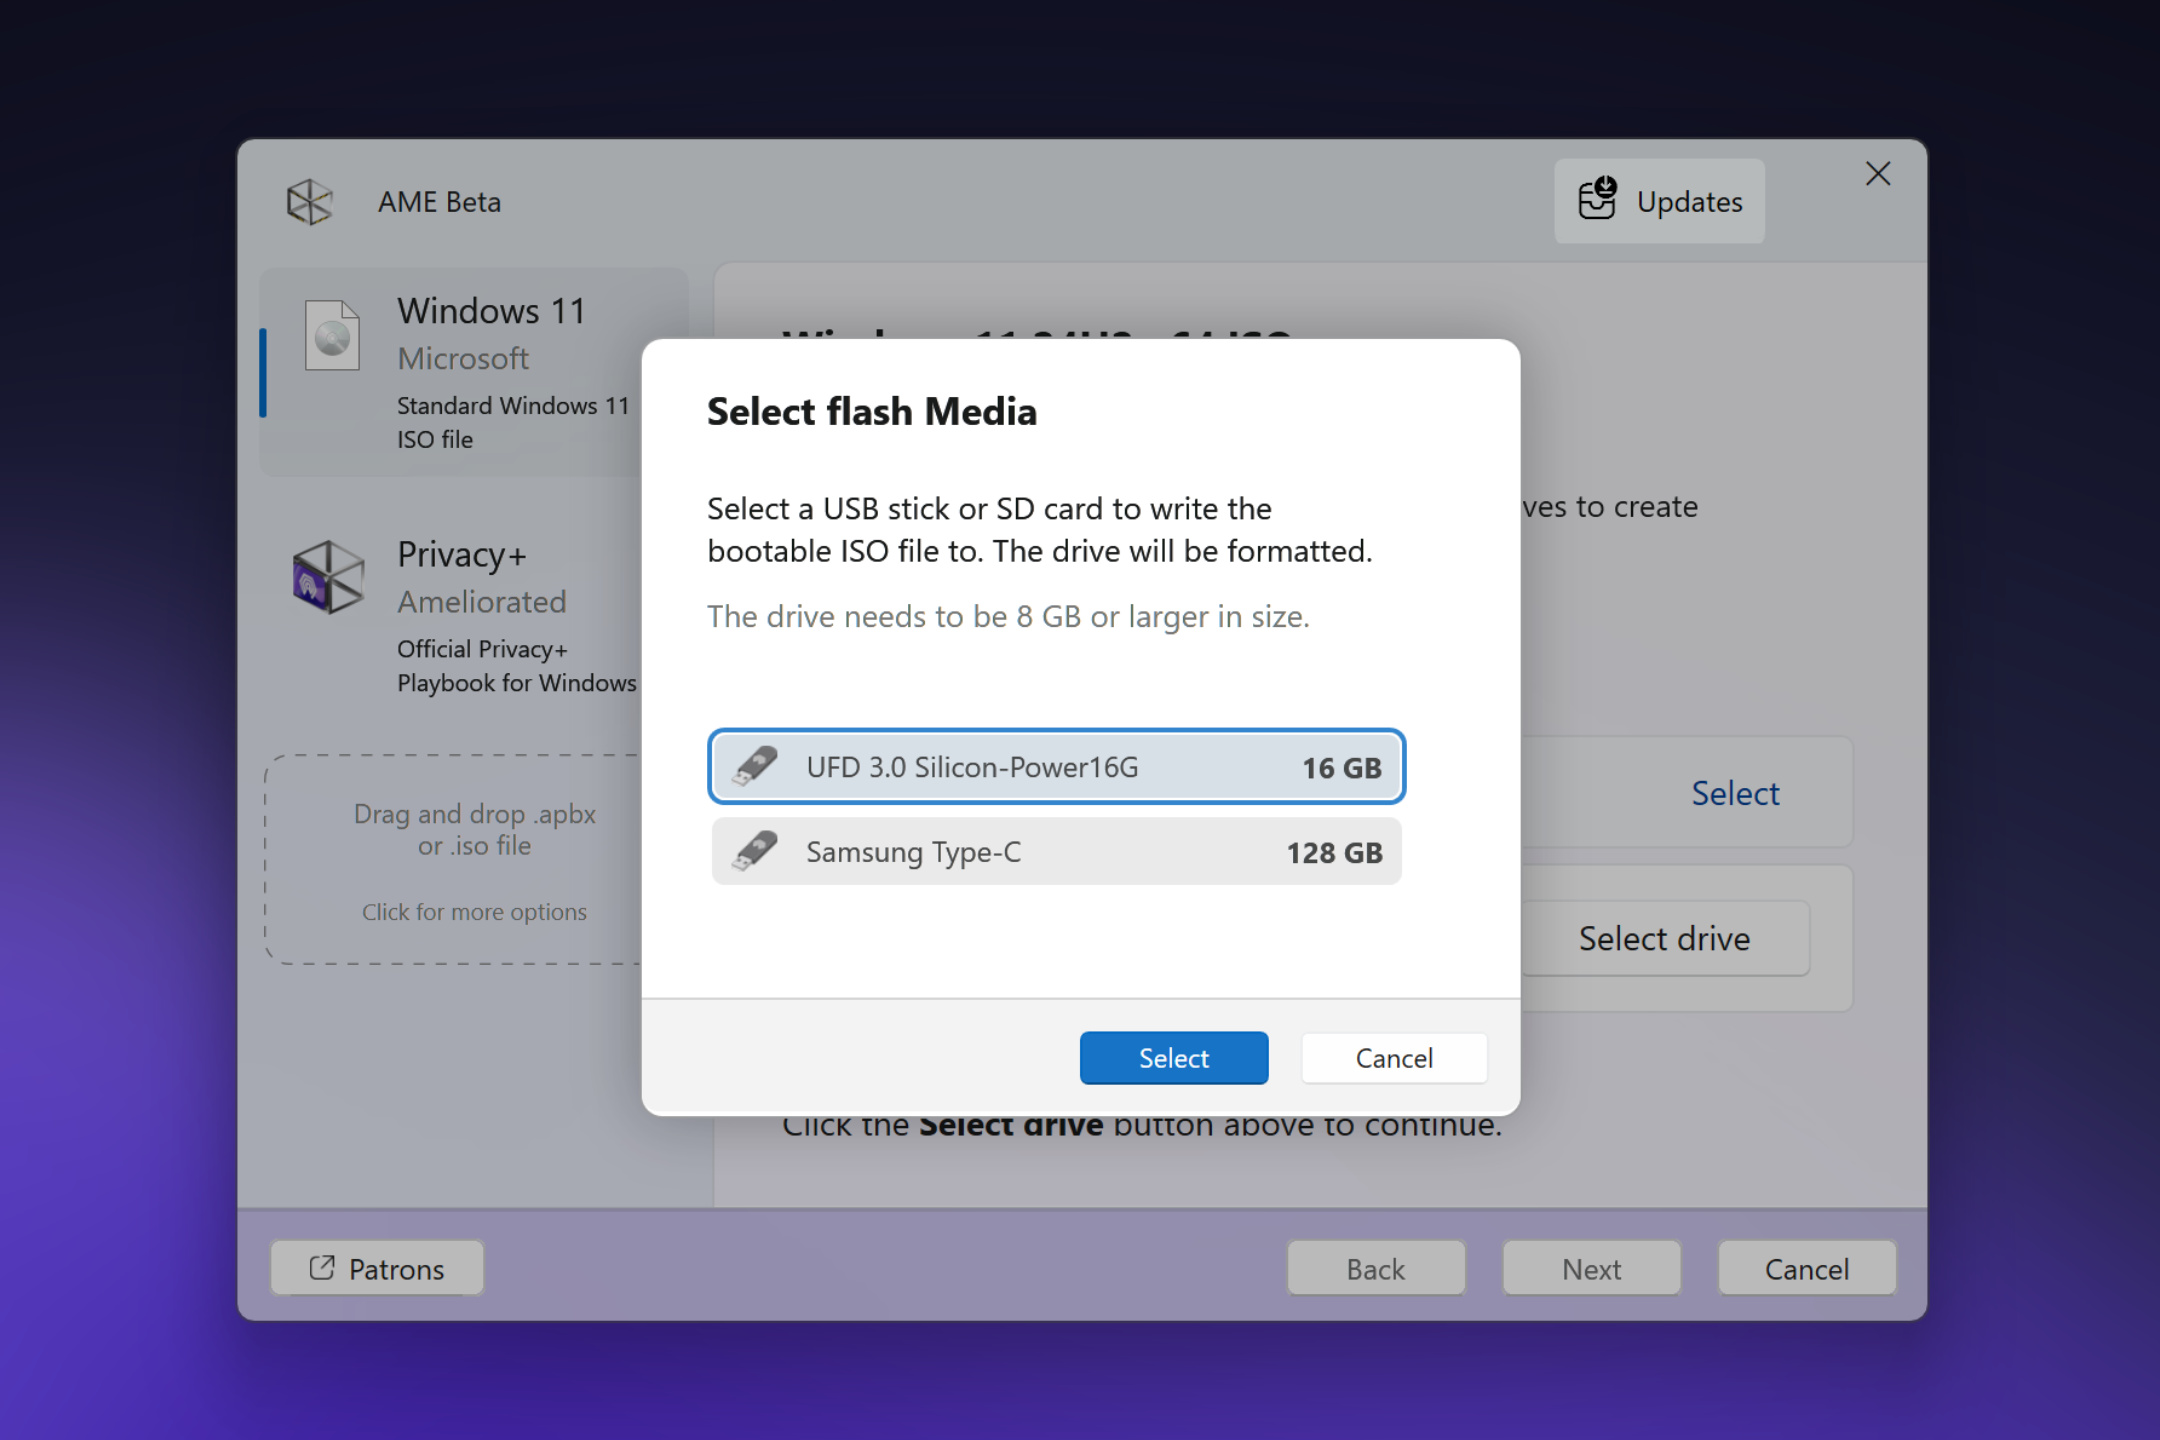
Selecting an ISO and USB Drives
Select the desired ISO from the sidebar.
In the main view, click the “Select drive” button.
In the modal, choose one or more USB drives to write the ISO to. Hold the Shift key to select up to five drives.
Customizing Options (Windows ISOs Only)
If you’ve selected a Windows ISO, you can customize certain options:
Toggle settings related to TPM, internet, and other requirements.
Note
These options are not available for playbook-injected Windows ISOs.
Confirming and Writing the ISO
Click “Next” to proceed to the final step.
In the confirmation modal, verify the selected drives and options.
Confirm the erasure of the selected drives.
Warning
Writing an ISO will erase all data on the selected USB drives. Ensure you’ve backed up any important data.
A progress window will appear, showing the writing status for each drive.
Once complete, you can safely remove the USB drives without ejecting them from the system tray.