Creating Playbooks
Playbooks are YAML-heavy dynamic configuration files that empower developers to automate Windows customization using AME Beta. They offer a programmatic way to tweak registry settings, strip out bloatware, and execute commands, perfect for crafting tailored, repeatable system setups. This guide walks you through creating, testing, and packaging your own playbook.
PrivacyCore playbook
If you’d prefer to start with a pre-configured playbook, download the PrivacyCore playbook based on Privacy+. The steps in this guide can be applied to customize it after extraction with 7-Zip (password: malte). It’s a solid foundation for building your own tailored setup.
Note
Other playbooks, like those from ReviOS, can also serve as references. Note that ReviOS uses a reversible deletion method and requires removing their product code before modification. Amelabs is working on integrating and curating these options into AME Beta before version 1.0.
Download
Get the playbook (prepackaged .apbx) for development purposes here:
File Structure
Take note of the default folder structure, critical for managing tasks and dependencies efficiently. Each component has a specific role, ensuring your playbook is both functional and maintainable. Here’s the typical layout and what each part does:
📁Folder Structure Details
A playbook requires the following hierarchy to function properly. Be careful to maintain this structure exactly to ensure the playbook is valid:
Playbook (root folder)
├── playbook.conf
├── Configuration
│   ├── main.yml
│   └── Tasks
│       ├── registry.yml
│       └── appx.yml
└── Executables
Here is a breakdown of the role for each file in the playbook:
- playbook.conf: Defines metadata like name and version in XML format.
- Configuration: Holds YAML files, starting with
main.yml for task orchestration. - Tasks: Contains action-specific YAML files (e.g., registry edits, APPX removal).
- Executables: Stores scripts or binaries your playbook might call.
Tip
Enable file name extensions in Windows Explorer (under View settings) for easier file management. See this guide to enable visibility if needed.
Writing The Config File
The playbook.conf file is the backbone of your playbook, written in XML to specify its identity and purpose. It’s the first thing AME Beta reads to understand what your playbook does and how to present it. Proper configuration here ensures smooth integration and recognition.
📃Playbook Configuration Example
The playbook.conf file uses XML to define your playbook’s metadata, which AME Beta uses to identify and describe your playbook. Here’s an example configuration:
<?xml version="1.0" encoding="utf-8"?>
<Playbook>
    <Name>Example PB</Name>
    <Username>Testing Inc.</Username>
    <ShortDescription>Official Example Playbook for Windows 11</ShortDescription>
    <Title>Windows 11 Example Playbook</Title>
    <Description>This Playbook will test your installation</Description>
    <Details>Official Example Playbook for Windows 11. Testing your system.</Details>
    <Version>0.1</Version>
    <UniqueId>YOUR_UNIQUE_ID_HERE</UniqueId>
</Playbook>
Here’s what each part means:
- Name: What your playbook is called.
- Username: Who made it (you!).
- ShortDescription: A quick summary.
- Title: Used for the primary pages.
- Description: Used in the first introductory page for the Playbook.
- Details: Used in the updates window description box.
- Version: Version of the Playbook, in formats like 1.2.16.
- UniqueId: A unique identifier for your playbook, generated using a UUID tool.
Important
Before editing playbook.conf, generate a unique ID for your playbook using a UUID generator like this one. This ID ensures your playbook is uniquely identifiable.
Writing The YAML
YAML files are the core of your playbook’s functionality, defining the tasks and actions to execute. Their simplicity makes them ideal for enumerating precise system changes, from registry tweaks to app removals. Let’s break down the key components.
Implementing Playbook Actions
Actions are the building blocks of your playbook, executed via YAML files like registry.yml or appx.yml. They let you fine-tune the system with precision, whether you’re editing the registry or purging unwanted apps.
📜Action Examples
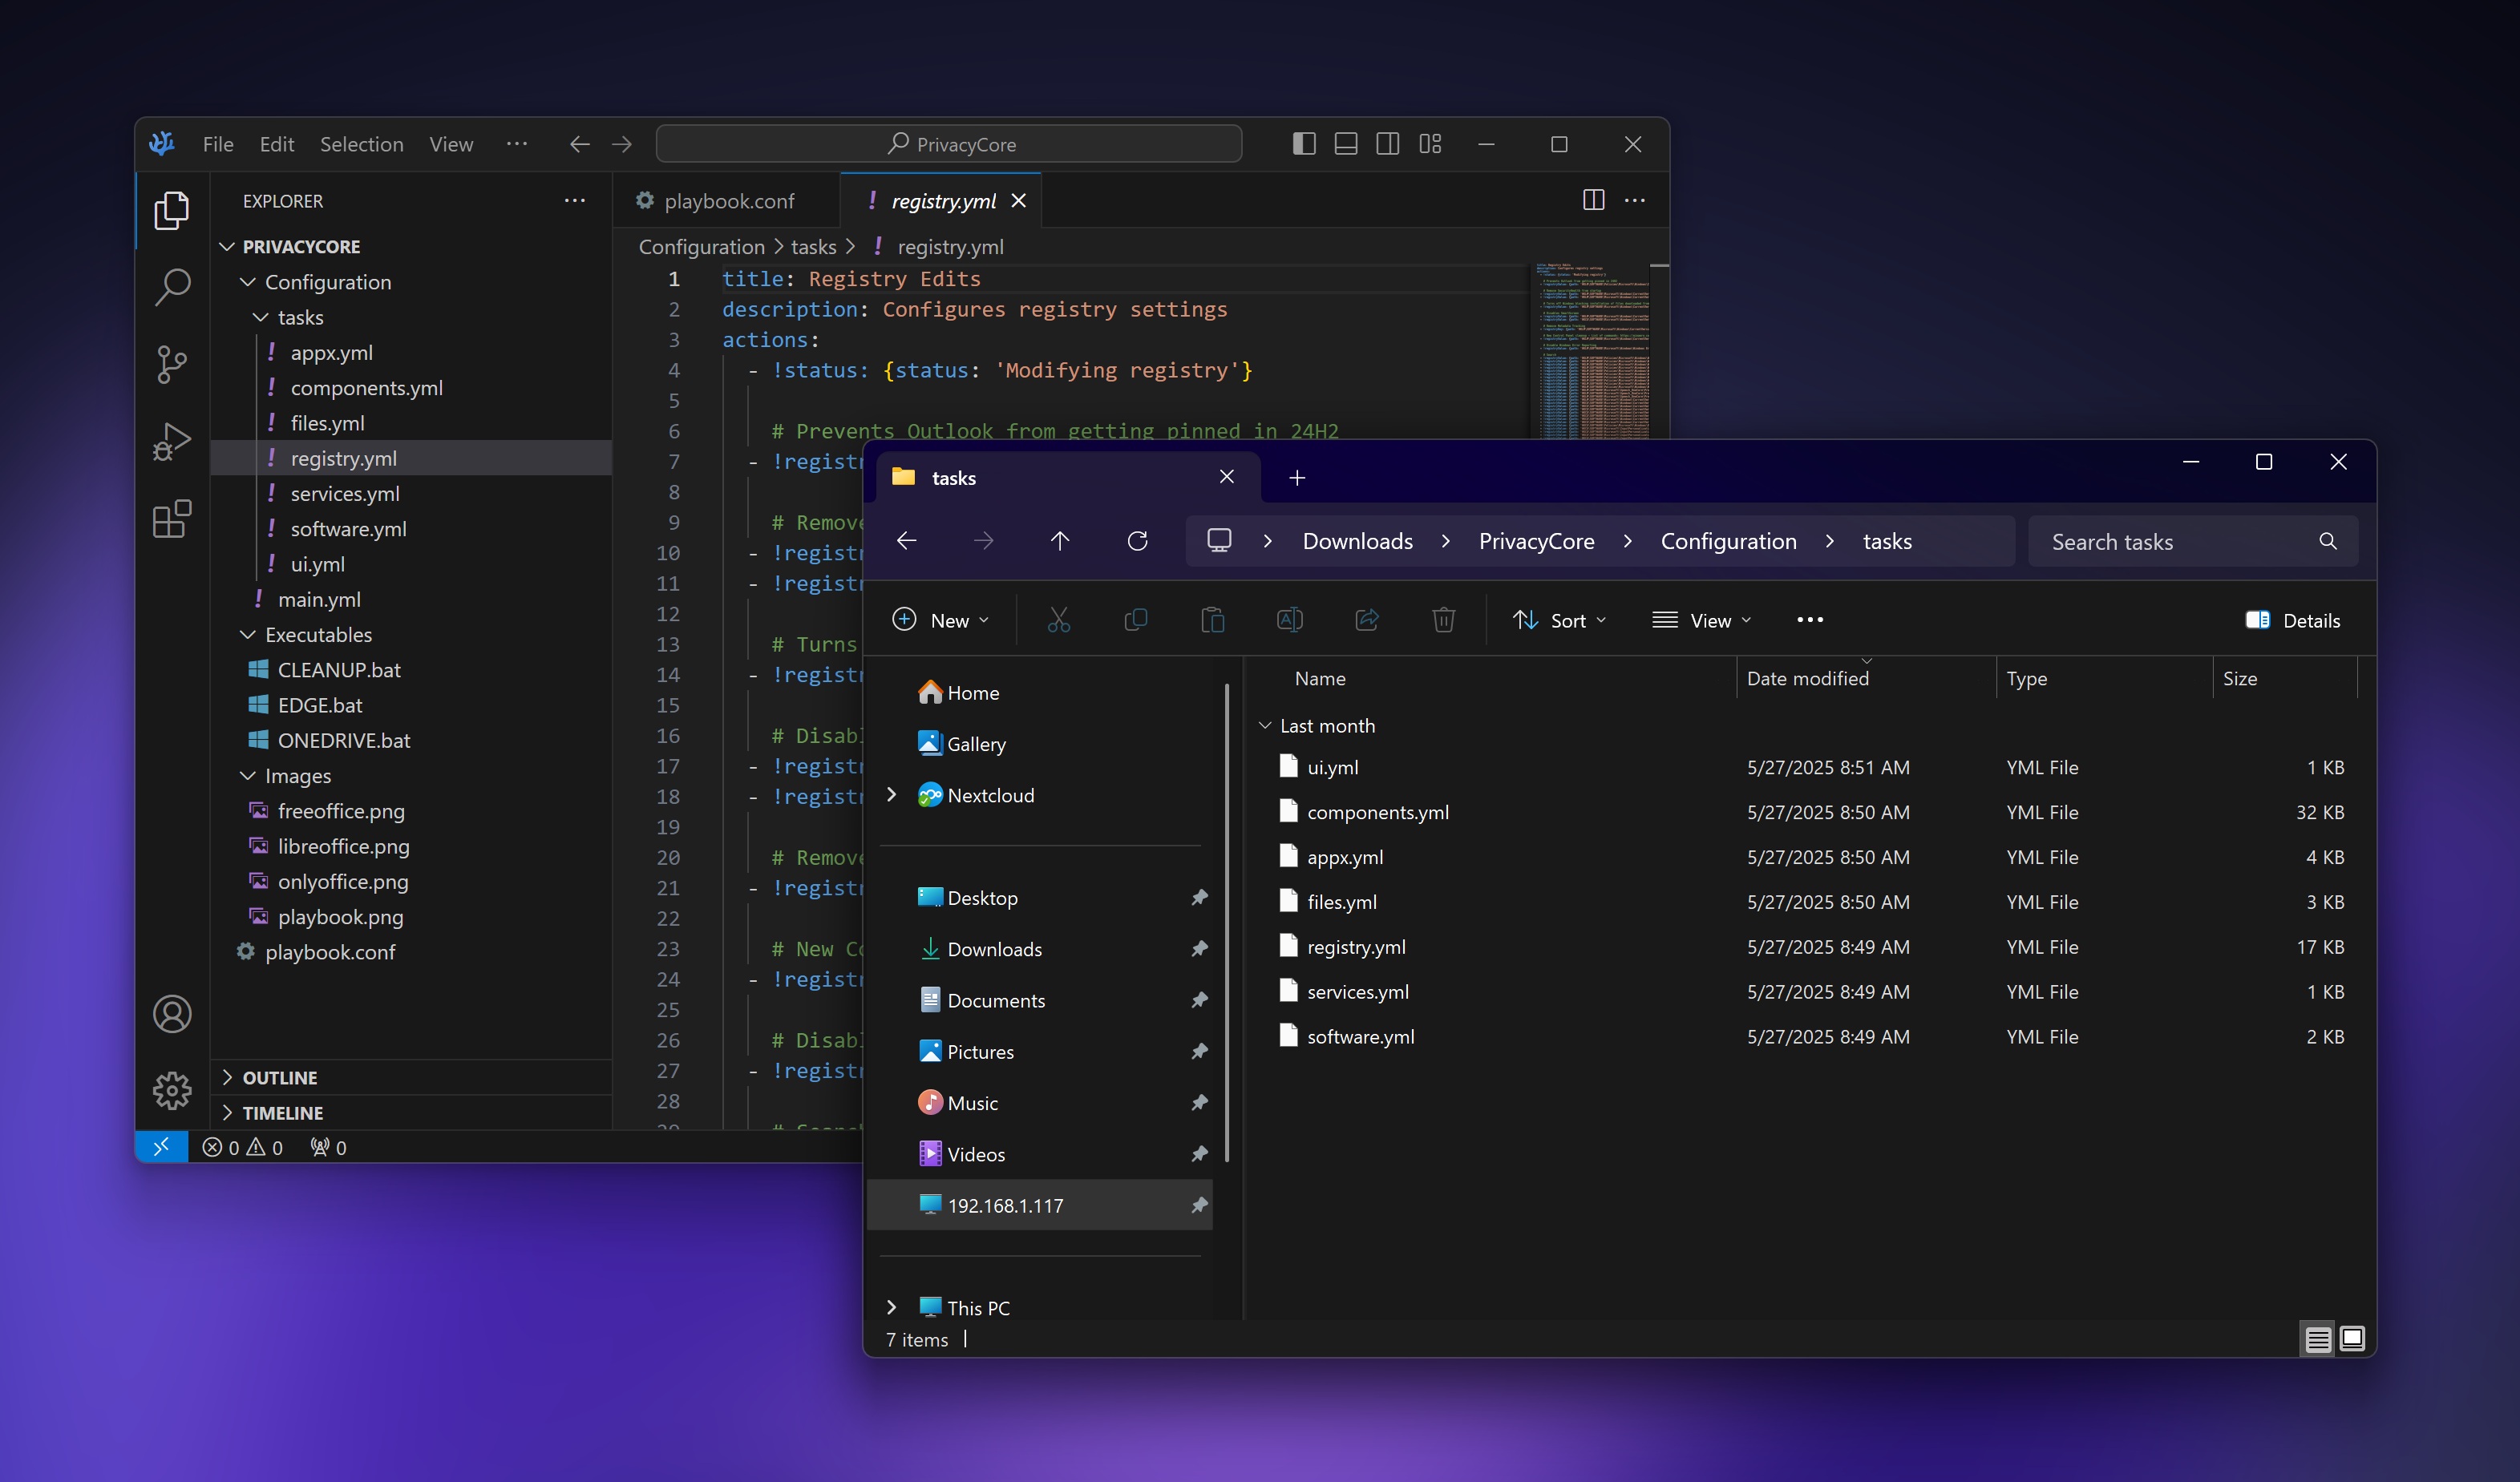
This registry.yml file disables Windows Error Reporting, shows hidden files, and hides the Task View button on the Taskbar:
# registry.yml
title: Registry Edits
actions:
  - !registryValue: {path: 'HKLM\SOFTWARE\Microsoft\Windows\Windows Error Reporting', value: 'Disabled', type: REG_DWORD, data: '1'}
  - !registryValue: {path: 'HKCU\SOFTWARE\Microsoft\Windows\CurrentVersion\Explorer\Advanced', value: 'Hidden', type: REG_DWORD, data: '1'}
  - !registryValue: {path: 'HKCU\SOFTWARE\Microsoft\Windows\CurrentVersion\Explorer\Advanced', value: 'ShowTaskViewButton', type: REG_DWORD, data: '0'}
This appx.yml file removes specific APPX packages and clears caches for others:
# appx.yml
title: APPX Removal
actions:
  - !appx: {name: '*disney*', type: family}
  - !appx: {name: '*PowerAutomate*', type: family}
  - !appx: {name: '*MicrosoftTeams*', type: family}
  - !appx: {name: '*Client.CBS*', operation: clearCache}
  - !appx: {name: '*StartMenuExperienceHost*', operation: clearCache}
  - !appx: {name: '*Windows.Search*', operation: clearCache}
AME Beta supports a wide range of customizable actions to tailor your Windows environment. Below are available actions you can incorporate into your playbook, offering flexibility for tasks like running scripts, managing services, or modifying system components:
- RunAction: Runs an executable or file.
- RegistryKey: Adds or deletes a registry key.
- RegistryValue: Modifies a registry value.
- Appx: Removes or clears APPX caches.
- Service: Executes a cmd command.
- ScheduledTask: Deletes or modifies a task.
- TaskKill: Terminates a process.
- SystemPackage: Removes a Windows component.
- Cmd: Runs a cmd command.
- PowerShell: Executes a PowerShell command.
- WriteStatus: Displays a status message in AME Beta.
Adapt these examples with other actions or explore existing playbooks for ideas.
Note
Use a text editor with YAML syntax highlighting (e.g., Visual Studio Code, Sublime Text, or Notepad++) for easier editing. YAML is simple—follow the examples, and you’ll pick it up quickly.
Warning
Always test actions in a virtual machine to avoid system damage.
Packaging Your Playbook
Packaging your playbook into a single .apbx file simplifies distribution and adds encryption for security. This step ensures your work is portable and protected when shared with others. Use 7-Zip to create the archive efficiently.
📦Packaging Steps
Encryption protects your playbook from being scanned by browsers or antivirus software for executables.
- Select Files: Choose all files and folders inside the
Playbook folder. - Create Archive: Right-click and select 7-Zip > Add to archive....
- Name and Format: Name it with a
.apbx extension and set the format to 7z. - Set Password: Use
malte as the password. - Finish: Click OK to create the archive.
You now have a fully functional playbook for use with AME Beta.
Note
This assumes you have 7-Zip installed. If not, download it from here.
Testing Your Playbook
Testing in a virtual machine (VM) is essential to verify your playbook’s functionality without risking your main system. VMs provide a sandboxed environment for safe experimentation and debugging. Follow these steps to set up and test effectively.
🖥️Virtual Machine Setup
A VM is a virtual computer with its own CPU, memory, and storage, running atop your OS. It’s ideal for testing on a fresh Windows install, with snapshots to revert changes.
- Enable Virtualization: Turn on CPU virtualization in your BIOS (see guide). This is required for running VMs efficiently.
- Install VMware Workstation Pro:
- Log in to the Broadcom Support Portal or create an account.
- Access free downloads at this link.
- Expand "VMware Workstation Pro <version> for Windows," select your version, and download.
- Run the installer and follow the prompts.
- Create a VM:
- Download a Windows ISO via AME Beta (saved in
C:\ProgramData\AME\Images) or from Microsoft’s website. - In VMware, select "Create a New Virtual Machine > Typical > Next," pick your ISO, and proceed.
- Recommended Settings: Use a 256GB dynamic disk (single file) and allocate at least 4 CPU cores.
- Use Snapshots: In VMware Workstation Pro, snapshots save the VM’s state. Create one before applying your playbook to revert changes if needed.
- Test Your Playbook: Start the VM and run your playbook to ensure it works as expected.
Next Steps
Ready to dive deeper? Check out these guides for more details: